
Is Your Healthcare Flooring Due for Repair or Replacement?
Last Updated: November 2, 2026
Quick Summary
Healthcare flooring repair and replacement planning starts with a documented inspection checklist for every clinical area, then scores each room against a repair-or-replace matrix. Repair usually wins when damage is isolated and the substrate is sound, while widespread failures or moisture under the flooring call for replacement.
Photograph every defect with its date, room number, and a scale reference.
If a repair fails twice in the same spot, investigate substrate, moisture, or installation.
Most resilient healthcare flooring lasts 10 to 20 years with proper care.
Compare repair and replacement quotes on the same scope, including removal, prep, and downtime.
Never open a section before adhesive cures, or early traffic ruins the bond.
Table of Contents
Start With a Commercial Flooring Inspection Checklist
Healthcare flooring repair and replacement planning starts with one hard truth: you cannot manage what you have not documented.
A commercial flooring inspection checklist is a written record of floor condition in each clinical area. It turns "this floor looks bad" into a decision you can defend to leadership and inspectors.
Walk every area with a clipboard and a camera. Log these items:
Floor type and installation year, if known
Room name and clinical function
Cracks, chips, and missing pieces
What to Document in Every Clinical Area
Details matter more than the checklist itself. Photograph every defect next to something that shows scale.
Track traffic levels too. A supply corridor takes different abuse than a patient room. Record which areas see rolling beds, carts, and heavy equipment.
The CDC guidance on healthcare environmental cleaning is a useful reference for what "clean" should look like in clinical spaces.
When Hospital Floor Repair Beats Full Replacement
Repair usually wins when damage is isolated, the substrate is sound, and the flooring system still has years left. Replacement wins when failures are widespread or moisture has reached the slab.
That single rule settles most arguments. The rest is judgment, and judgment improves when you replace opinion with a documented decision sequence that forces the conversation through condition, cause, cost, and clinical risk before anyone signs a purchase order.
Step 1: Diagnose the Failure Before You Price the Fix
Most flooring failures in clinical spaces fall into a small number of categories, and each one points to a different decision:
Surface wear. The wear layer is dull, scratched, or showing traffic lanes, but the flooring is bonded and flat. This is a maintenance problem, not a replacement problem. Burnishing, recoating, or a restorative scrub-and-recoat usually restores appearance and slip resistance at a fraction of replacement cost.
Seam and edge failure. Lifted seams, curled edges at doorways, and open joints at transitions. Isolated seam failures are repairable; recurring failures in the same location after two repairs usually indicate substrate movement, moisture, or adhesive failure underneath.
Substrate failure. Cracks that telegraph through sheet goods, hollow sounds underfoot, or soft spots. Repairing the surface without addressing the slab is temporary by design.
A common pattern is patching the same seam three times. If a repair fails twice in the same spot, stop patching and investigate the substrate, the moisture, or the installation. The third patch is almost always wasted money.
Step 2: Score Each Area Against a Repair-or-Replace Matrix
Use this matrix to make the call room by room rather than building by building. Building-wide decisions almost always over-replace.
Condition | Repair | Replace |
Damage confined to one room or one alcove | Yes | No |
Loose seams in a high-traffic corridor | Yes, if under roughly 10% of the floor area | Yes, if widespread |
Water damage or moisture under sheet vinyl | No | Yes |
Surface wear only, no lifting or curling | Yes, with recoating or restorative cleaning | No |
Cracks returning after two repairs | No | Yes |
Floor over 15 years old and failing in multiple areas | Rarely | Usually |
Damage at doorways and transitions only | Yes, with transition replacement | No |
Failed adhesive across a large open area | No | Yes |
Treat the matrix as a starting point, not a verdict. Two rooms with identical damage can warrant different decisions if one is an operating room and the other is a storage closet.
Step 3: Weigh Clinical Risk and Downtime, Not Just Square-Foot Cost
Repair-versus-replacement is not only a materials question. In occupied clinical space, the cost of closing an area, rerouting patients, and coordinating with infection prevention often exceeds the difference between a patch and a full replacement.
Ask these questions before approving either option:
Can the area be closed safely? A repair in a patient room may require moving a patient; a corridor repair may require rerouting traffic and equipment.
Does the repair create a new infection-control burden? Cutting, grinding, and adhesive work generate dust and fumes. A small repair with poor containment can cost more in infection-control measures than a larger, well-planned replacement.
Will the repair hold until the next capital cycle? If the repair buys two years and replacement is already in the five-year capital plan, repair is often the right bridge. If it buys six months, it is usually a delay tactic.
Step 4: Compare Repair and Replacement on a Like-for-Like Basis
When you compare options, compare them on the same scope. A repair quote that covers only the patch is not comparable to a replacement quote that includes removal, disposal, substrate prep, moisture testing, adhesive, installation, and post-installation cleaning.
A practical way to compare:
Define the area in square feet.
Get the repair scope in writing, including the cause being addressed.
Get the replacement scope in writing, including removal, prep, and disposal.
Add the operational cost of each option, downtime, phasing, infection-control measures, and temporary access routes.
Compare the total cost per square foot, not the sticker price of the materials.
Step 5: Document the Decision
Write down which option you chose and why. Note the failure mode, the repair history, the moisture readings if any, and the expected service life of each option. That record protects you when leadership asks why a floor was patched instead of replaced, or replaced instead of patched.
For facilities that need ongoing care rather than a one-time fix, our guide on maintaining commercial floors in healthcare facilities covers the long-term maintenance side of the decision.
How Long Healthcare Flooring Lifespan Really Lasts
Most resilient healthcare flooring lasts 10 to 20 years with proper care. Sheet vinyl often lands in the middle of that range. Luxury vinyl tile can run longer in low-traffic areas and shorter in busy corridors.
Lifespan depends on five things:
Traffic levels. Beds, carts, and foot traffic wear floors fast.
Cleaning products. Harsh chemicals break down wear layers early.
Moisture. Water under the surface shortens life more than any scratch.
Watch out: many facilities replace floors that only needed a recoat and a seam repair. Get a second opinion before you approve a full replacement budget.
Flooring Installation in Occupied Healthcare Facilities
Flooring installation in occupied healthcare facilities is possible, but only with a written phasing plan. Crews work in sections while patients, staff, and equipment keep moving.

Phasing Work Around Patient Care and Operations
Plan the work in this order:
Map patient zones and identify which areas can close.
Schedule noisy work during low-activity hours.
Set up dust barriers before any demolition starts.
Move equipment and furniture the night before.
Complete one section, cure it, then open it.
Repeat in the next zone.
Never open a section before adhesive cures. Patients and staff will walk on it, and early traffic ruins the bond.
Infection Control and Cleaning During Flooring Work
Infection control during flooring work is not optional. Tearing up flooring releases dust and particles into the air. In clinical spaces, that is a real risk.
Build these steps into the job:
Seal the work zone with plastic barriers and negative air pressure where possible.
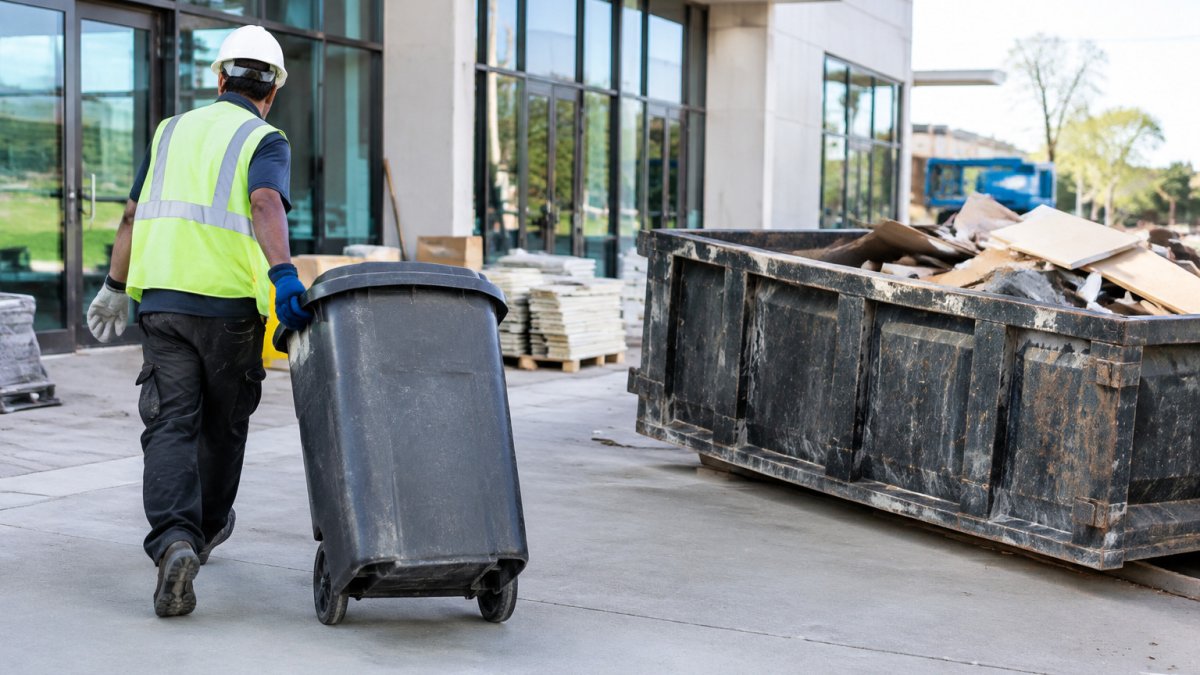
Remove debris in sealed bags, not open carts.
Clean the zone with hospital-approved products before reopening.
The EPA guidance on antimicrobial products helps clarify which products carry valid claims. Stick to products your infection control team has approved.
Our article on healthcare facility cleaning best practices goes deeper on protecting patients during and after flooring work.
Budgeting, Lifecycle Cost, and Post-Installation Sign-Off
Budget for the whole lifecycle, not just the install. A cheaper floor that fails in five years costs more than a better floor that lasts fifteen, but only if you actually compare the two on the same basis. Most flooring budgets in healthcare fail not because the materials were wrong, but because the estimate stopped at the install line.
What Drives the Cost of a Healthcare Flooring Project
Pricing depends on square footage, floor type, and phasing needs. For current pricing or a quote, contact Phaze 2 Janitorial & Labor Services directly. Understand the drivers so you can sanity-check any quote you receive.
Area and geometry. Square footage is the base unit, but rooms with tight corners, built-ins, and multiple transitions cost more per square foot than open corridors.
Flooring type. Sheet vinyl, luxury vinyl tile, rubber, and epoxy each carry different material and labor profiles. Sheet goods require seaming and heat welding; tile requires layout and grout or seam work; fluid-applied systems require cure time and moisture control.
Removal and disposal. Existing flooring, adhesive, and underlayment must be removed and disposed of. Some older adhesives and flooring materials require special handling, which adds cost and time.
How to Build a Lifecycle Cost Comparison
A lifecycle comparison does not require perfect data. It requires consistent assumptions. Build a simple table with these columns for each option:
Initial cost, materials, labor, removal, prep, disposal, infection control, and post-install cleaning.
Expected service life, use the manufacturer's estimate and adjust down for high-traffic areas.
Annual maintenance cost, cleaning, burnishing, recoating, and seam repair.
Mid-life intervention cost, recoating cycles, seam repairs, and partial replacement.
Replacement cost at end of life, including removal and disposal again.
Operational cost of downtime, closing beds, rerouting traffic, and phasing.
Divide total lifecycle cost by expected service years to get an annualized cost per square foot. That single number is the fairest comparison between a cheaper floor with a short life and a more expensive floor with a long one.
Pro Tip When comparing quotes, ask each vendor to state the expected service life and the maintenance schedule their number assumes. A quote that assumes annual recoating is not comparable to one that assumes none.
Post-Installation Acceptance Checklist
Sign-off is not a handshake at the door. Walk the floor with the installer and document the following before final payment:
Seams are tight, welded where specified, and flush.
Transitions and edges are secure and meet accessibility requirements.
No bubbles, lifting, or adhesive oozing.
Photograph everything and file the warranty with your maintenance records. Track the warranty start date, coverage terms, and any maintenance requirements that could void coverage. A warranty you cannot find is a warranty you cannot use.
Plan the Maintenance Budget Before the Floor Opens
Set the maintenance budget at the same time as the capital budget. Know the recoating cycle, the approved cleaning products, and the seam-repair threshold before the floor goes into service. Facilities that plan maintenance alongside installation get more years out of the same floor.
Request a Flooring Assessment Before Your Next Inspection
Inspectors look at floors. Cracked tiles, loose seams, and stained surfaces read as maintenance failures, and those findings follow you.
Before your next inspection, get a floor assessment on the books. A walk-through with fresh eyes catches problems while they are still cheap to fix.
Phaze 2 Janitorial & Labor Services offers walk-through estimates for commercial and healthcare facilities. Our team is fully insured and bonded.
If you are prepping for an inspection, our guide on ensuring facility inspection readiness walks through the documentation side. Ready to talk? Contact us to schedule your assessment.
Frequently Asked Questions
How do you know when healthcare flooring needs to be replaced?
Replacement is usually the right call when damage is widespread rather than isolated: lifting seams, curling edges, permanent staining, or substrate moisture that keeps returning after repair. If a commercial flooring inspection checklist shows failures across multiple rooms or the flooring has passed its expected service life, patching stops being cost-effective. Isolated damage in one corridor or patient room can often be repaired instead, which buys time before a full replacement project.
Can damaged healthcare flooring be repaired instead of replaced?
Yes, in many cases. Sheet vinyl and luxury vinyl tile can be patched, seamed, or re-bonded when the damage is localized and the substrate is sound. Hospital floor repair is worth considering when the affected area is small, the flooring still has years of service life left, and moisture readings are within range. The decision usually comes down to how much of the floor is failing and whether repairs will hold up under the traffic and cleaning protocols that area sees.
How can healthcare facilities plan flooring work to minimize disruption?
Phasing is the main tool. Break the project into zones, schedule noisy or odorous work during low-census periods, and coordinate each phase with infection control and department leadership. Flooring installation in occupied healthcare facilities works best when containment barriers, negative air pressure, and temporary transitions go up before demolition starts. Build a written schedule that names who approves each zone handover, so clinical staff know exactly when a corridor or room returns to service.
What should a healthcare flooring inspection checklist include?
At minimum: seam condition, edge lifting, cracks, stains, wear patterns at doorways and nurse stations, substrate moisture readings, and slip resistance in wet areas. Note the flooring type, installation date, and cleaning products used in each zone. Photograph every defect and log it by room number so you can track whether problems are spreading. That documentation feeds directly into repair-or-replace decisions and supports warranty claims if a product fails early.
Your floors take a beating every single day, and the damage rarely announces itself. Small cracks and loose seams become inspection findings and patient safety risks faster than most facility teams expect. Phaze 2 Janitorial & Labor Services brings specialized floor care, flexible scheduling, and a bonded, insured crew to healthcare facilities that cannot afford downtime. Get started with Phaze 2 Janitorial & Labor Services and walk into your next inspection with floors you can stand behind.

Comments